Learning how to grind tungsten correctly for TIG welding, starts by using a clean, dedicated grinding wheel and grind longitudinally so the grinding marks run along the length of the electrode. Rotate the electrode evenly to create a consistent taper, then prepare the tip geometry required for your welding application.
In this guide we’ll explain how to grind tungsten step by step, including how to select the right tip geometry and grinding angle, the differences between wet and dry grinding, and how to avoid common grinding problems.
How Tungsten Preparation Affects Welding Results
The electrode tip is where the welding arc is established. Its grinding angle and tip shape influence how the arc behaves, which is why the geometry should be selected according to your welding application.
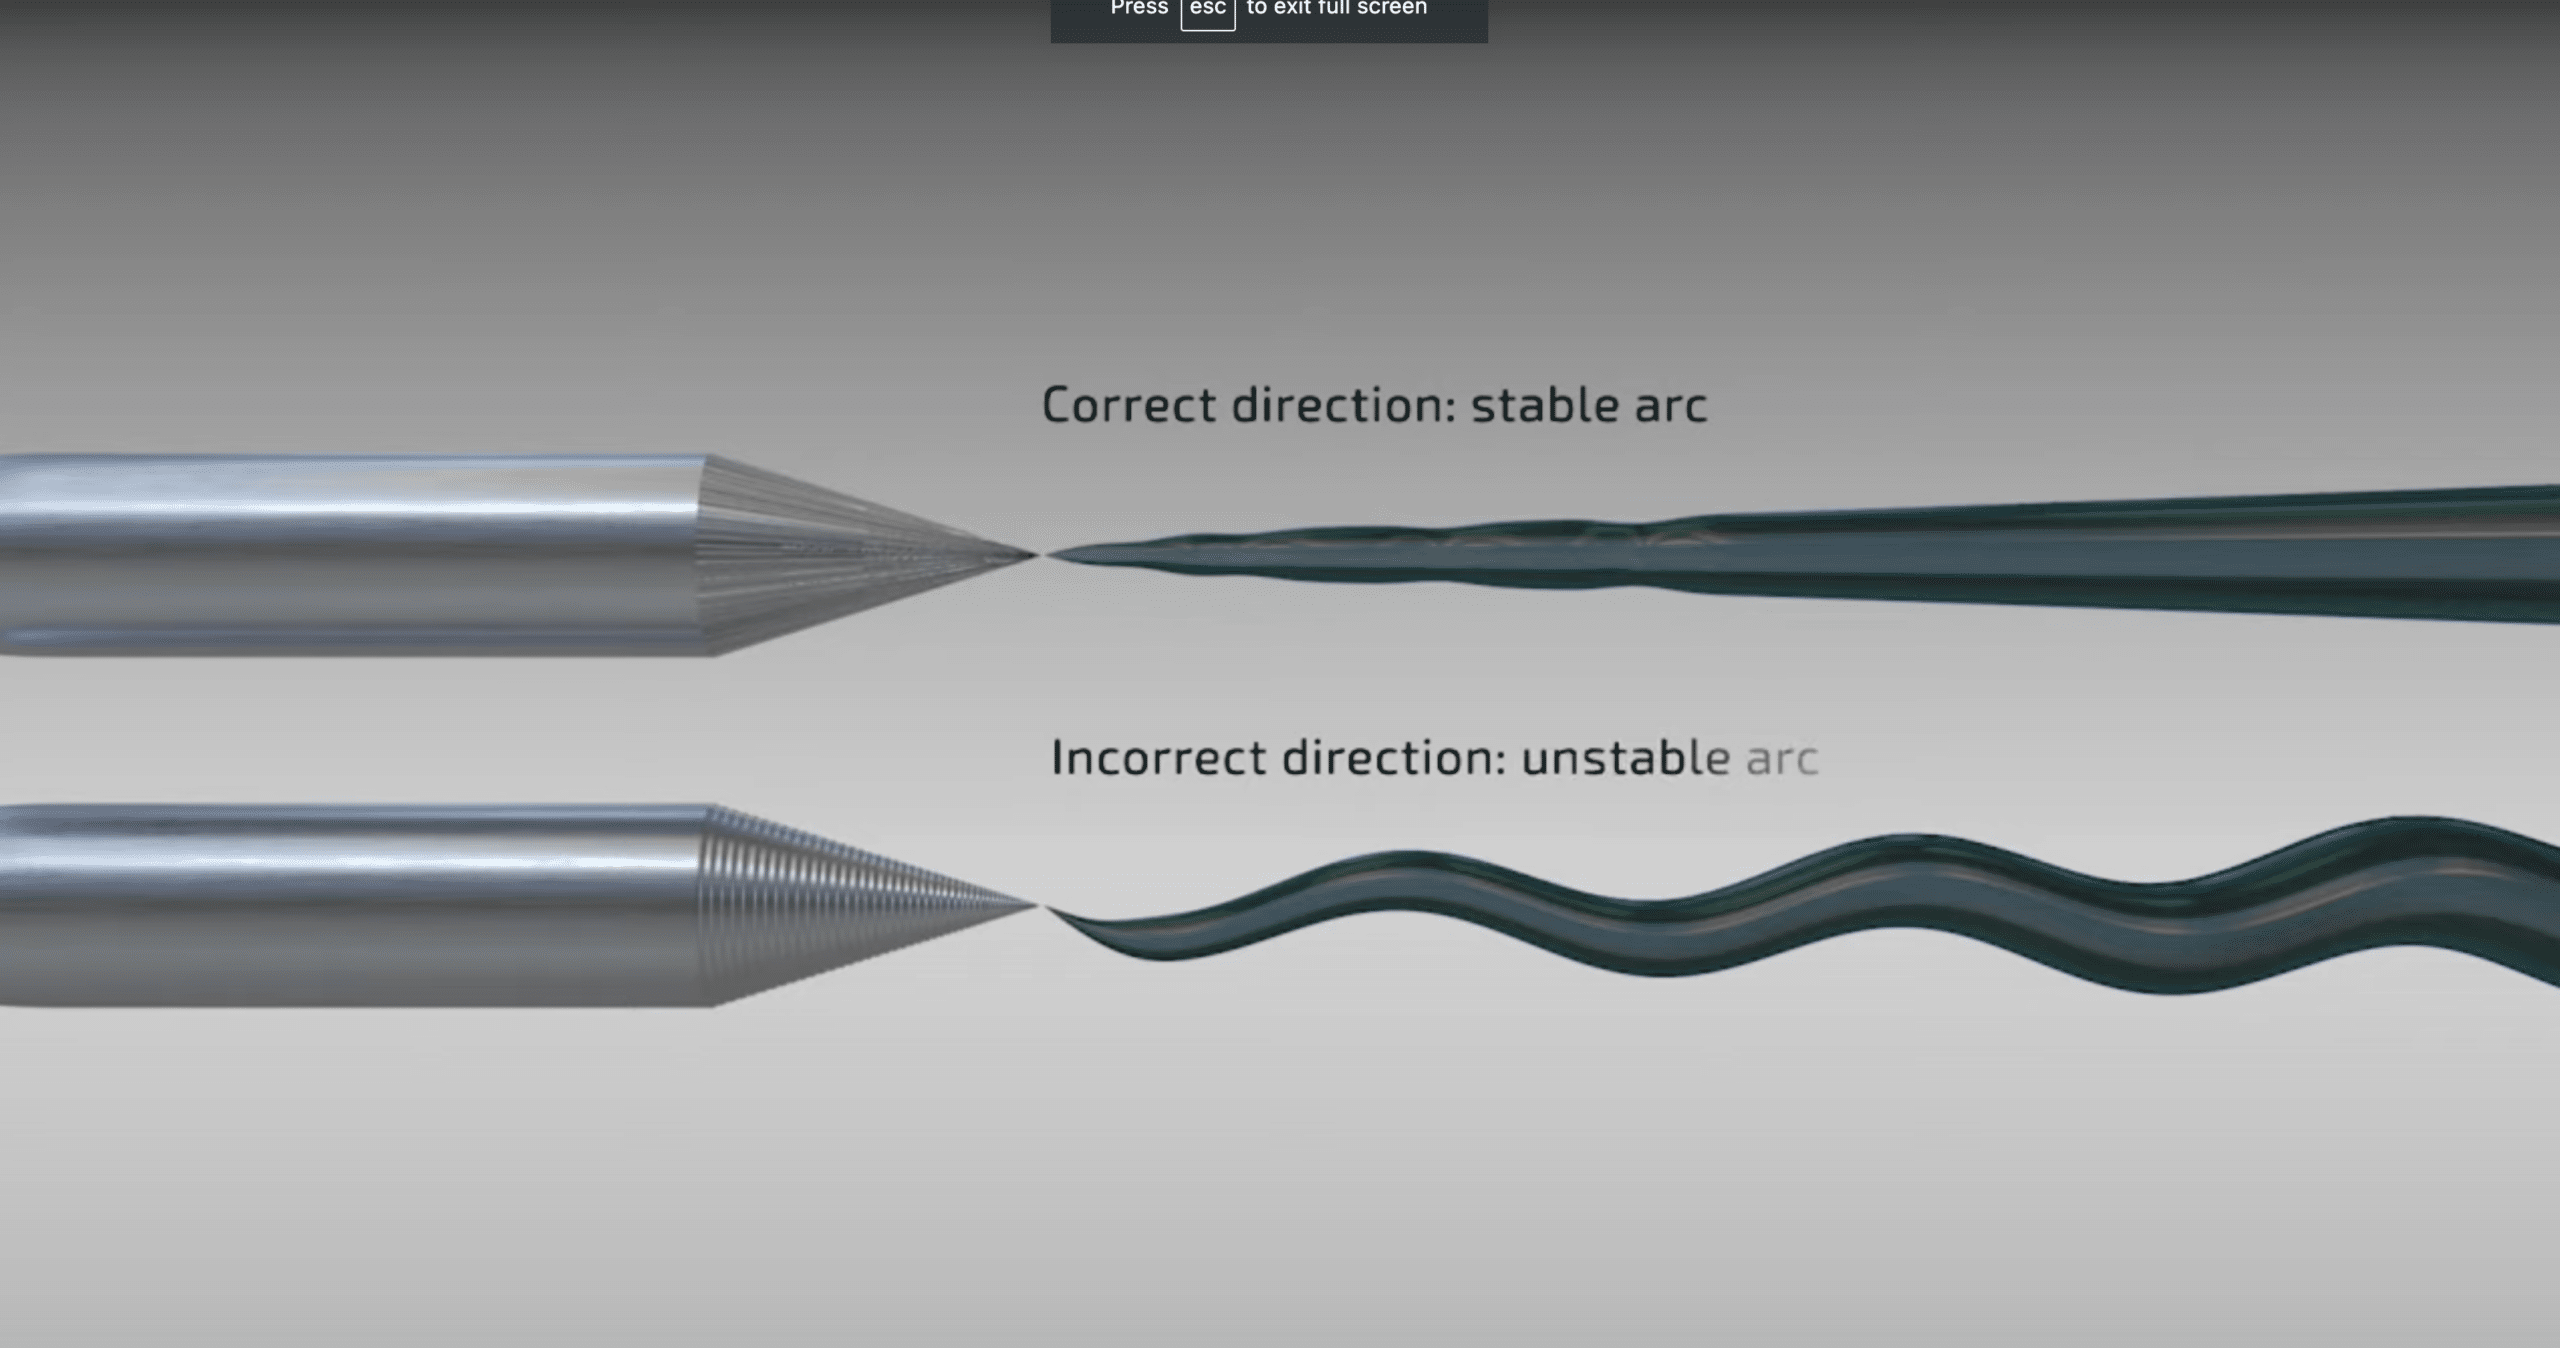
The grinding direction is also important. Grinding marks should run longitudinally along the electrode rather than around it, helping the arc remain centred and stable.
In production environments, repeatability becomes particularly important. Freehand grinding can introduce variations in angle, centering and surface finish between electrodes, which makes it harder to achieve the exact same preparation each time. Therefore, a dedicated tungsten grinder can be an advantage, when welding needs to be performed on a bigger production scale.
Before learning how to grind tungsten, you need to make two decisions. What equipment to use and what tip geometry your welding application actually requires.
What to Use to Grind Tungsten
There are two common ways to grind tungsten electrodes. One is using a conventional bench grinder with a wheel dedicated to tungsten, the other is using a purpose-built tungsten grinder.
They are both able to grind the electrode, but they differ in how much control they give you.
Bench Grinder vs. Dedicated Tungsten Grinder
| Bench grinder with dedicated wheel | Dedicated tungsten grinder | |
|---|---|---|
| Angle repeatability | Depends largely on the operator | Grinding angle can be set |
| Electrode positioning | Controlled by hand | Guided by the grinder |
| Contamination risk | Reduced when the wheel is tungsten-only | Dedicated to tungsten preparation |
| Dust control | Requires separate extraction | Can include integrated dust control |
| Grinding process | Typically dry | Available as dry or wet grinding |
| Best suited for | Occasional preparation | Frequent and repeatable preparation |
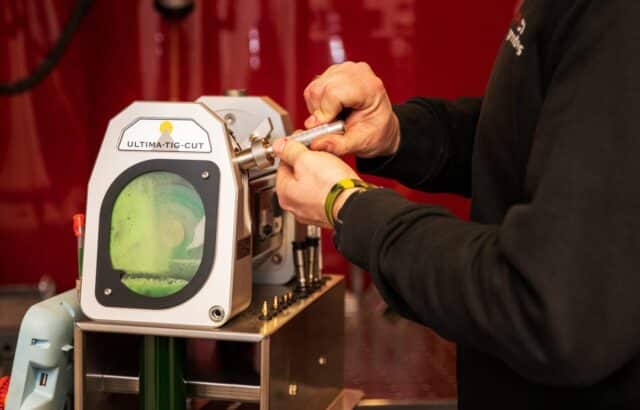
A dedicated tungsten grinder gives you more control over the preparation process. Instead of setting the grinding angle by hand, the grinder helps you reproduce the required tip geometry for each electrode.
If you currently use an open belt grinder, we recommend you to read our comparison of open belt grinding and our Ultima-TIG®.
Choose the Correct Tungsten Tip Geometry
Once you have selected your grinding method, the next important step in learning how to grind tungsten is to determine what geometry you need to create.
There is no single grinding angle or tip shape that is right for every TIG application. The required geometry depends on factors such as electrode diameter, welding current and the application.
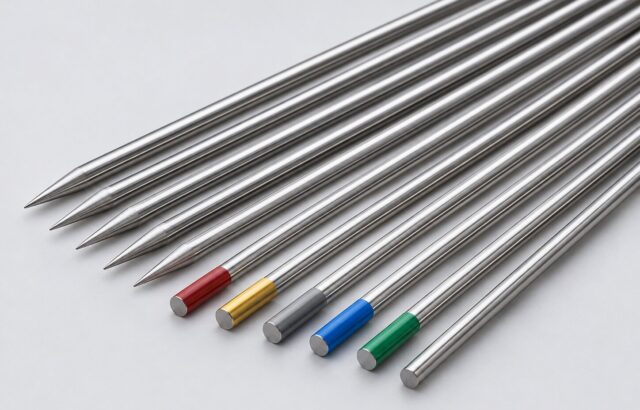
Start by determining the grinding angle, then consider whether the finished electrode should be pointed, truncated or balled.
How to Choose Your Tungsten Grinding Angle
The right grinding angle depends on how the electrode will be used. Welding current and electrode diameter both influence the tip geometry you need.
The table below provides a practical starting point for selecting the tip angle based on those two factors.
| Electrode diameter | Included tip angle | Tip flat | Recommended current range |
|---|---|---|---|
| 1.0 mm (.040") | 12° | 0.125 mm (.005") | 2-15 A |
| 1.0 mm (.040") | 20° | 0.250 mm (.010") | 5-30 A |
| 1.6 mm (1/16") | 25° | 0.500 mm (.020") | 8-50 A |
| 1.6 mm (1/16") | 30° | 0.800 mm (.030") | 10-70 A |
| 2.4 mm (3/32") | 35° | 0.800 mm (.030") | 12-90 A |
| 2.4 mm (3/32") | 45° | 1.100 mm (.045") | 15-150 A |
| 3.2 mm (1/8") | 60° | 1.100 mm (.045") | 20-200 A |
| 3.2 mm (1/8") | 90° | 1.500 mm (.060") | 25-250 A |
When you know the required tip angle, you can set the corresponding grinding angle on a dedicated tungsten grinder, such as the Ultima-TIG®.
Which Tip Geometry to Use: Pointed, Truncated or Balled Tungsten?
Before you start grinding, you also need to consider the shape of the electrode tip.
| Tip geometry | What it looks like | Typically used for | What to consider |
|---|---|---|---|
| Pointed | Sharp taper with no flat | Lower-current applications and thin materials | The point is more exposed to heat and can deteriorate at higher currents |
| Truncated | Ground taper with a controlled flat at the tip | Higher-current applications where consistent tip geometry is required | The truncation diameter should be selected according to the welding parameters |
| Balled | Rounded end of the electrode | Certain AC welding applications, particularly aluminium | The final geometry can be more difficult to reproduce consistently |
With the required angle and tip geometry established, you are ready to grind the electrode.
How to Grind Tungsten, Step by Step
The following steps provide a practical method for how to grind tungsten.
Before you start grinding, wear appropriate eye protection and make sure the grinding dust is effectively collected or extracted.
- Choose the grinding angle. Select the angle and tip geometry that match your welding application. Read more about this in the table below.
- Grind the electrode lengthwise. Position the electrode so the grinding marks run longitudinally towards the tip rather than around the electrode. This helps maintain a stable, centred arc.
- Rotate the electrode evenly. Keep the electrode at a consistent angle as you rotate it to create a symmetrical and centred tip.
- Use light, controlled pressure. Avoid pressing the electrode heavily against the grinding surface, as excessive pressure can generate unnecessary heat.
- Prepare the tip for your application. Depending on the welding parameters, the electrode may require a small flat at the tip. This can help the electrode maintain its geometry at higher currents. See the chart below for guidance on tip geometry.
- Inspect the finished electrode. Check that the tip is centred and the grinding surface is even, with no visible cracks or damage. Regrind the electrode if necessary.
Continue reading our 5 Pro Tips for Maintaining Top-Notch Tungsten Grinding Quality.
What Our Measurements Show about Wet vs Dry Grinding
Dry grinding can generate significant heat at the electrode tip, while wet grinding helps limit heat build-up during the grinding process.
To examine the difference, we tested wet and dry grinding using stainless steel AISI 304 at 200 A. The electrodes were ground to a 30° tip angle and tested across five welds of 150 seconds each, at a welding speed of 89 mm/min.
| Condition | After 1 ignition (75 s arc) | After 5 ignitions (about 12 min arc) | Change |
|---|---|---|---|
| Wet ground (Ultima-TIG®) | 4.56 mm | 4.47 mm | 0.09 mm (2%) |
| Dry ground (open bench grinder) | 4.14 mm | 3.77 mm | 0.37 mm (9%) |
One explanation for this difference is the halo effect. Excessive heat during grinding can contribute to a beard-like protrusion forming further up the electrode during welding. In our test, this deterioration was also associated with reduced weld penetration.
By limiting heat during grinding, wet grinding can help the electrode maintain its shape for longer. This also reduces material waste, as each regrind removes around 1-2 mm of tungsten.
Common Mistakes When Grinding Tungsten
Even small mistakes during grinding can affect the electrode geometry, introduce contamination or make the result less consistent. So, knowing how to grind tungsten also means you should be aware of the common mistakes to avoid. We have listed some of them below.
- Grinding across the electrode. Grinding marks should run lengthwise towards the tip. Crosswise marks can contribute to arc wandering.
- Using a shared grinding wheel. A wheel also used for steel or other materials can contaminate the tungsten.
- Pressing too hard. Excessive pressure generates unnecessary heat at the electrode tip.
- Grinding freehand. This makes it harder to reproduce the same angle and tip geometry each time.
- Using tap water for wet grinding. Tap water can cause corrosion inside the grinding chamber.
- Skipping the final inspection. Check that the tip is centred and even, with no visible cracks or damage.
Read more about the health risks and the welding safety rules, before you start the process of welding.
How to Grind Tungsten with a Dedicated Tungsten Grinder
Manual grinding can make it difficult to reproduce the same tip geometry, especially when several welders prepare electrodes.
For frequent grinding, a dedicated tungsten grinder such as the Ultima-TIG® provides greater control over the angle and centring while limiting heat build-up and collecting grinding dust. Consistent preparation can also reduce unnecessary tungsten waste, which becomes a cost when electrodes are ground frequently.
Read more about our Ultima-TIG® or see What Do You Do With Your Tungsten Waste? for more on reducing material loss.